
Introduction
Creating a website can often seem daunting, especially when you're on a tight budget and timeline. Thankfully, Webflow offers a powerful platform that simplifies the process without sacrificing quality. In this post, we'll explore the quickest, easiest, and cheapest way to create a decent Webflow site in 2024 using a Webflow library. By following these steps, you'll have a professional-looking website up and running in no time.
What is Webflow?
Webflow is a versatile web design tool that allows you to build custom websites without writing code.
It combines the power of visual design tools with the flexibility of HTML, CSS, and JavaScript, making it ideal for both designers and developers. With Webflow, you can create responsive, interactive websites that look great on any device.
What is a Webflow Library?
A Webflow library is a collection of pre-built components and design elements that you can use to accelerate your web development process.
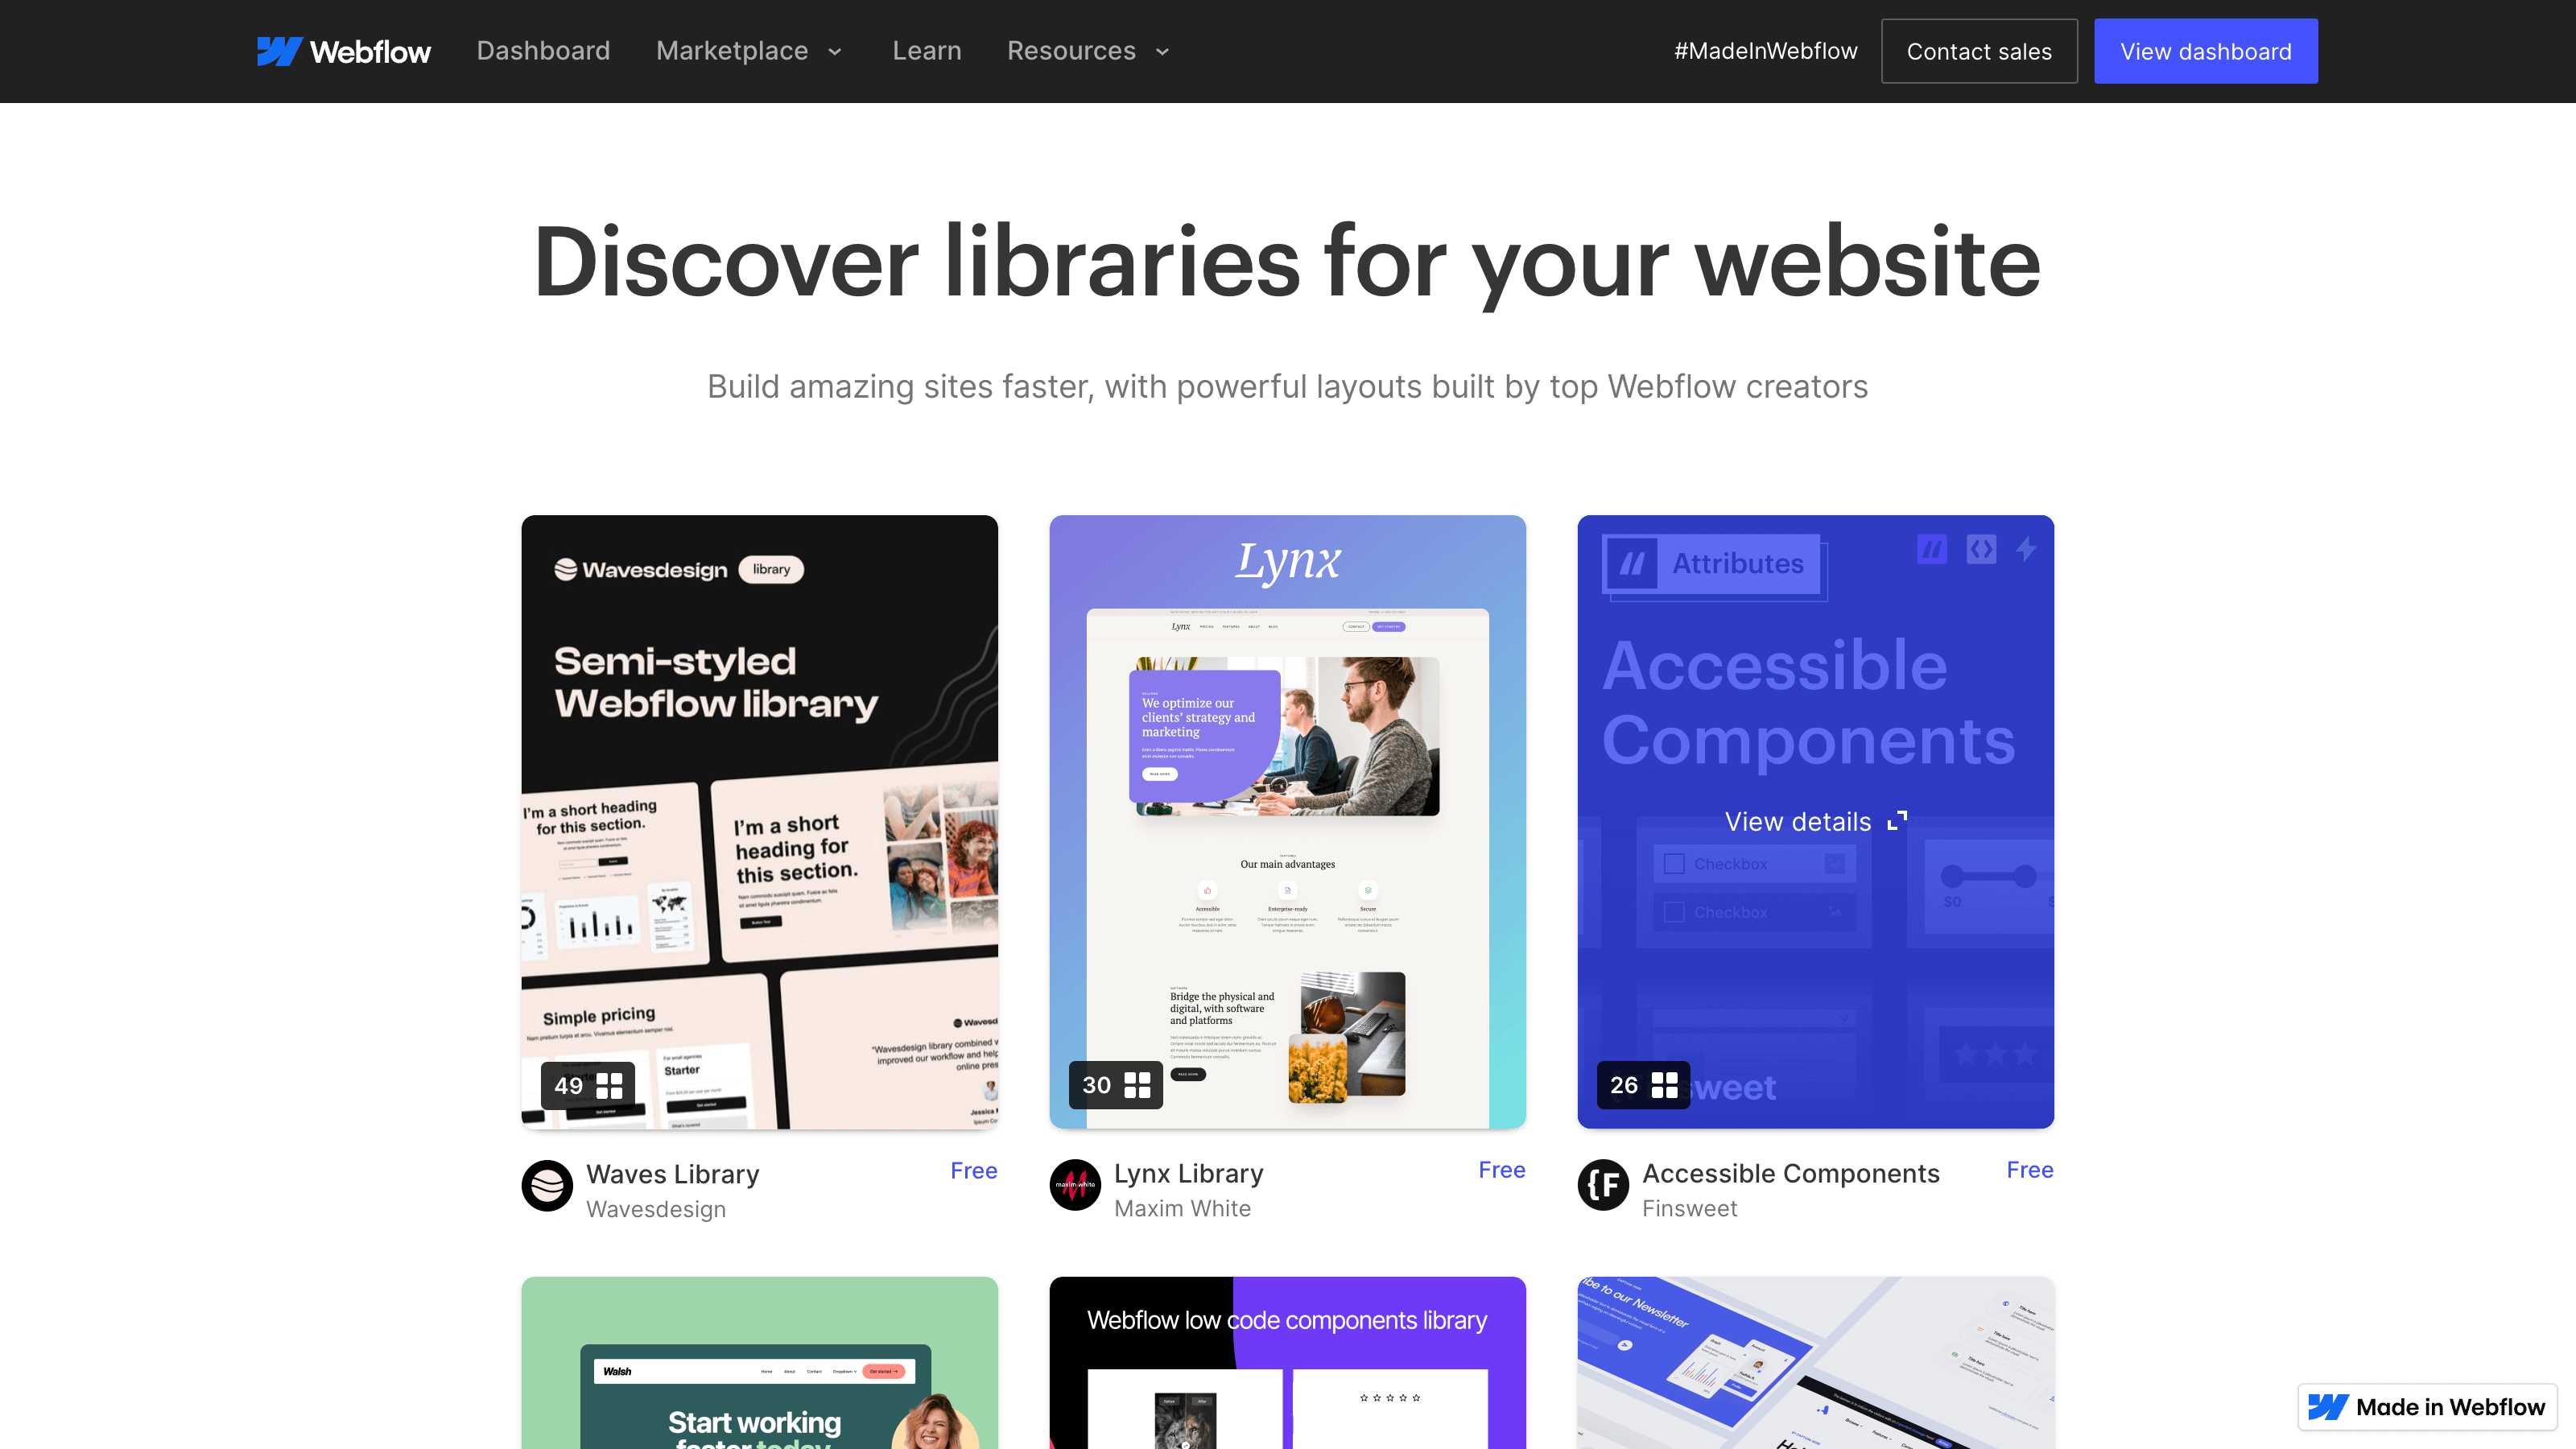
These libraries include templates, styles, and interactive elements that you can easily integrate into your own projects. By using a Webflow library, you save time on design and development, allowing you to focus on customizing your site to meet your specific needs.
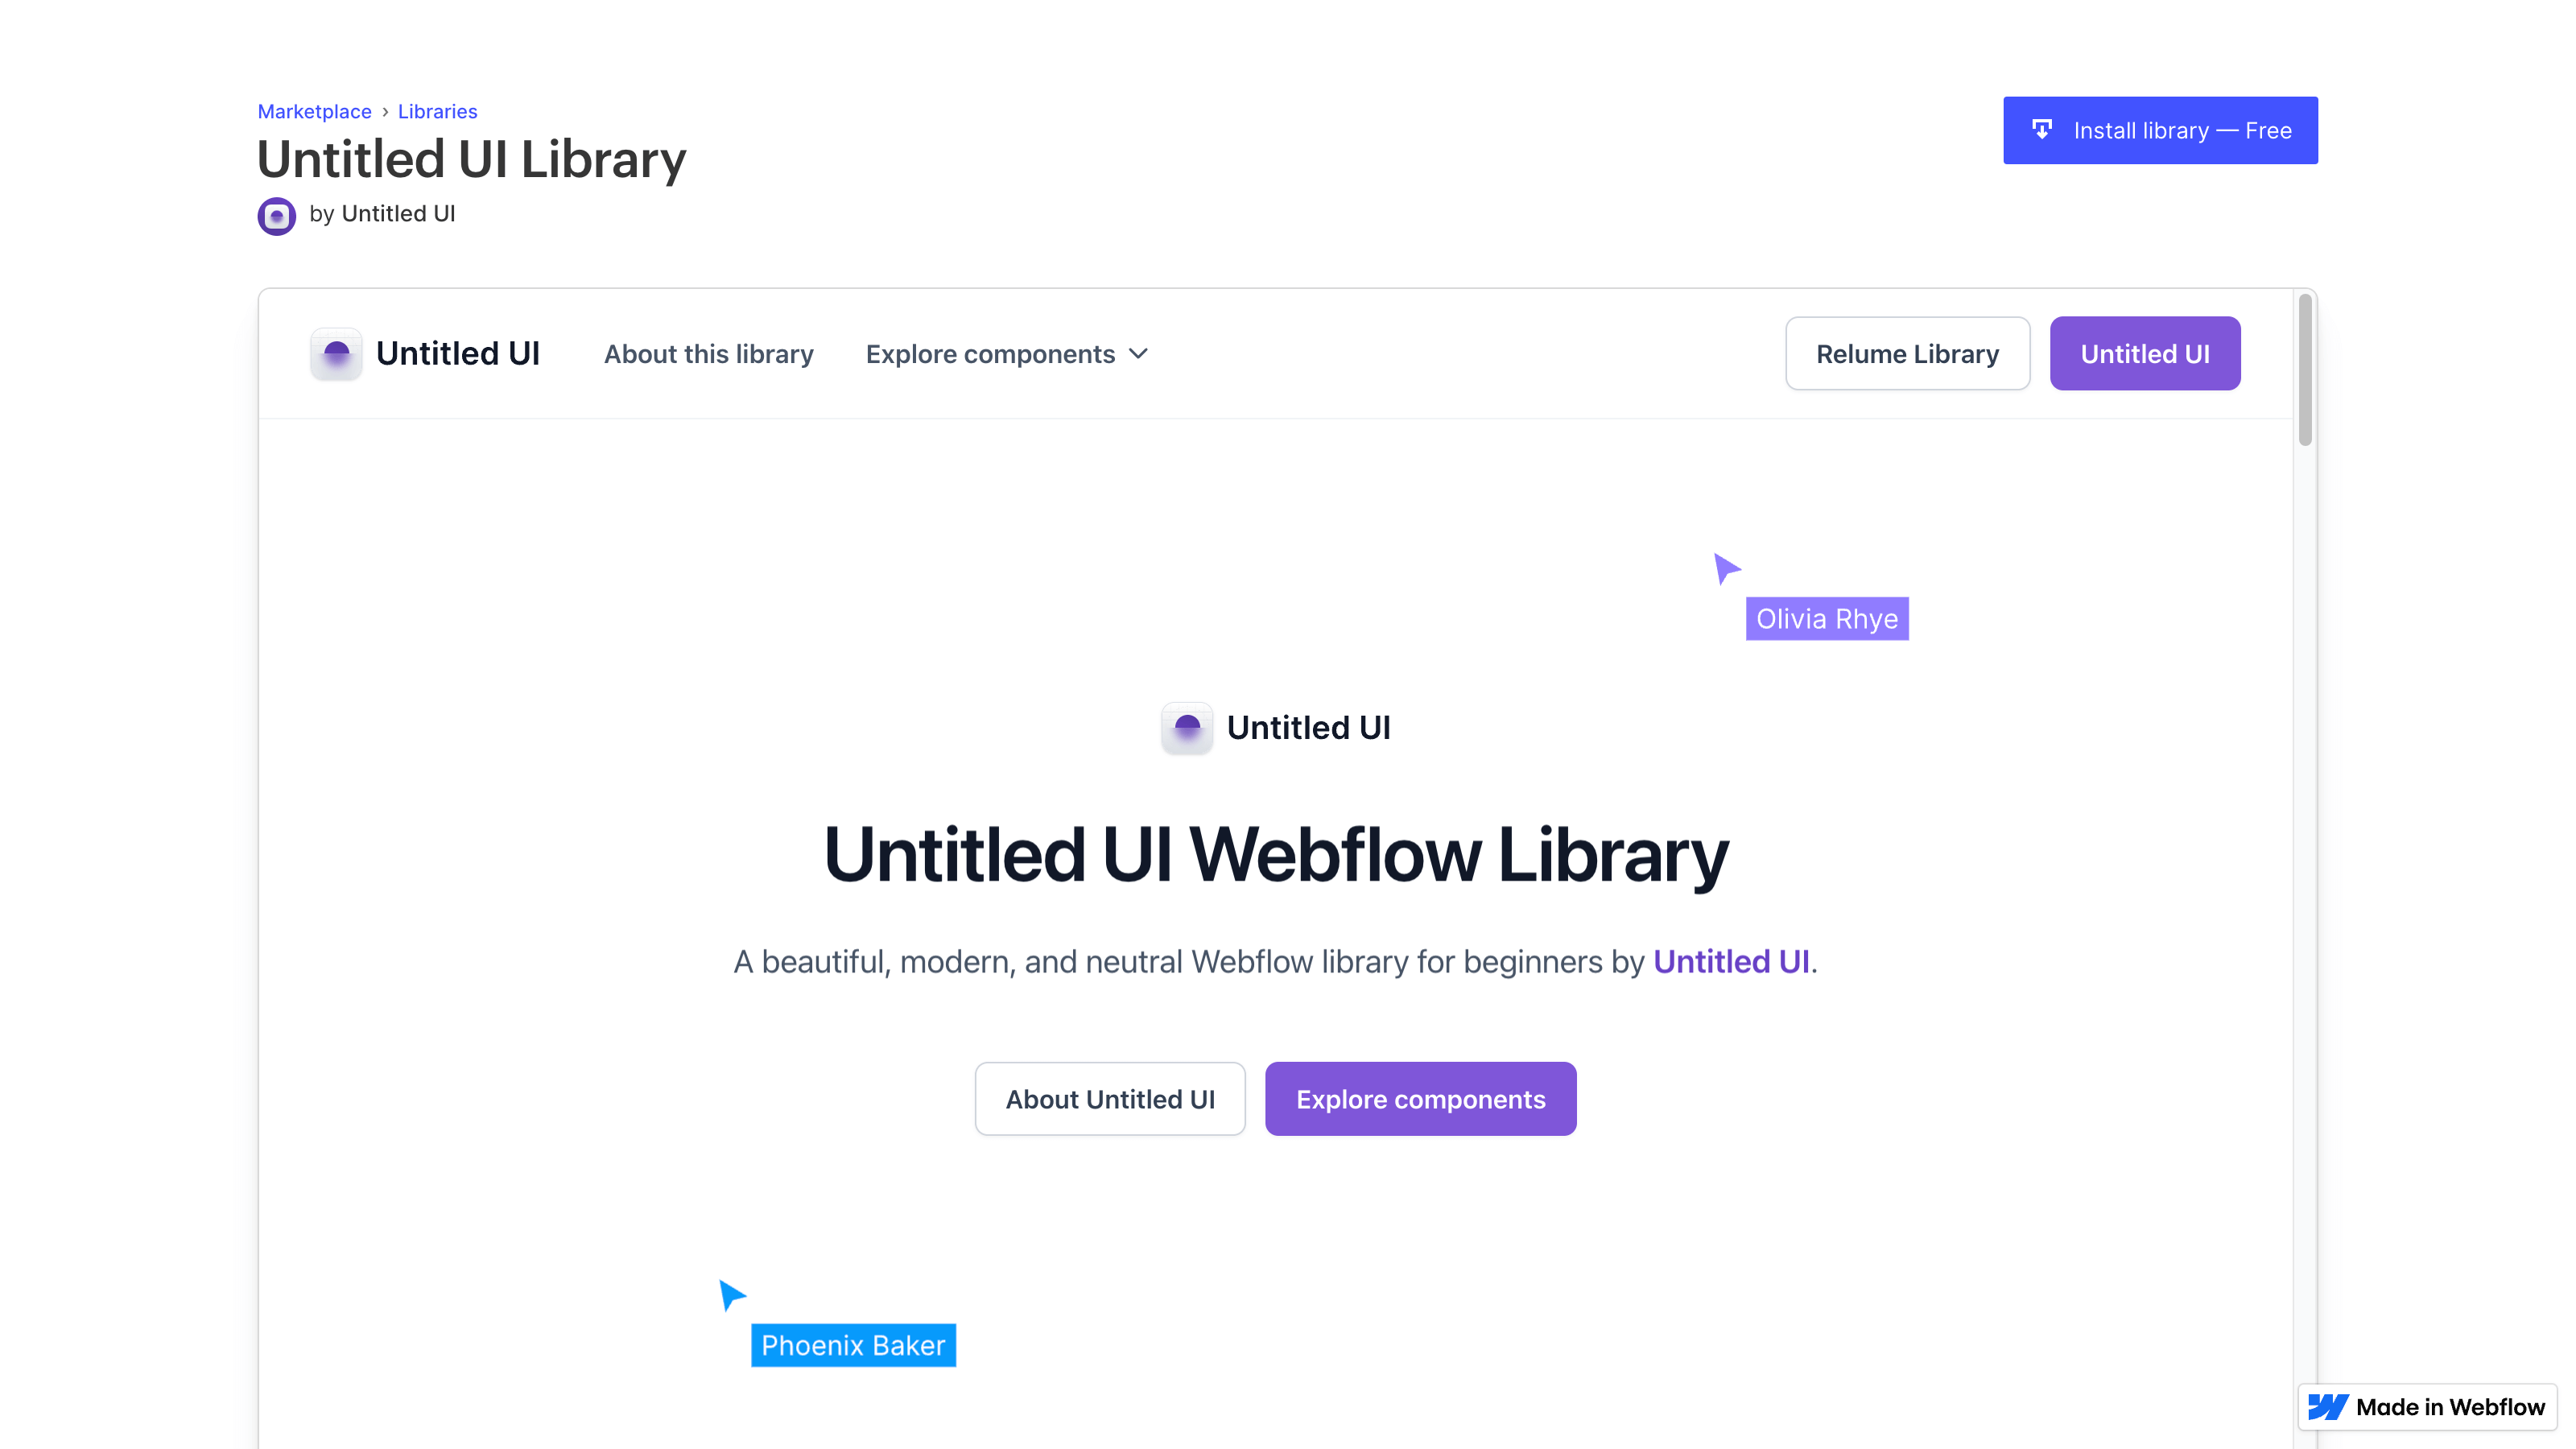
What is Untitled UI?
Untitled UI is a modern and minimalist design system that provides a comprehensive set of UI components and styles.

It is designed to help you create clean, user-friendly interfaces quickly and efficiently. With Untitled UI, you get access to a cohesive collection of design assets that you can use to build a consistent and visually appealing website.
Untitled UI Webflow Library!
Thankfully we have a Webflow Library for Untitled UI and it's free!
Let's create our first website using this comprehensive yet easy to use Webflow Library in 11 steps.
Step 1: Clone The Original Style Guide
Start by cloning the original style guide from Untitled UI. This guide includes all the basic styles and components you'll need for your site. By cloning the style guide, you ensure that your design remains consistent and cohesive throughout the project.
Step 2: Review and Tweak The Design System
Next, review the design system provided by Untitled UI. Make any necessary tweaks to match your brand's colors, fonts, and other design elements. This step is crucial for maintaining a unique look and feel while still leveraging the efficiency of a pre-built system.
Step 3: Add The Library
Integrate the Untitled UI Webflow library into your project. This involves importing the components and styles from the library into your Webflow project. Once added, you can start using these components to build your website quickly.
Step 4: Create The Homepage
Begin by creating the homepage. Use the components from the Untitled UI library to lay out your content. Focus on crafting a compelling hero section, clear navigation, and engaging content that draws visitors in. Remember, the homepage is often the first impression, so make it count.
Step 5: Make Core Components Reusable
To streamline your workflow, make core components like headers, footers, and buttons reusable. Webflow allows you to create symbols, which are reusable elements that you can update globally. This ensures consistency across your site and saves you time when making changes.
Step 6: Create 'About' Page
Use the library components to build an informative and visually appealing 'About' page. Highlight your story, mission, and team members. Keep the design clean and easy to navigate, ensuring that visitors can quickly learn about your brand.
Step 7: Create 'Contact' Page
Next, create a 'Contact' page using forms and other interactive elements from the Untitled UI library. Make it easy for visitors to get in touch with you by providing clear contact information and a user-friendly form.
Step 8: Create Legal Pages
Don't forget the legal stuff! Create pages for your privacy policy, terms of service, and any other legal requirements. These pages are essential for building trust with your visitors and ensuring compliance with regulations.
Step 9: Check Responsiveness
Before publishing, check the responsiveness of your site. Webflow makes it easy to preview your site on different devices and screen sizes. Make sure all elements look great and function properly on desktops, tablets, and mobile devices.
Step 10: Check SEO Settings
Optimize your site for search engines by reviewing and updating your SEO settings. Add meta titles, descriptions, and alt text for images. Use Webflow's SEO tools to ensure your site is easily discoverable by search engines.
Step 11: Publish
Finally, it's time to publish your site! With Webflow, you can publish directly to the web with just a few clicks. Take a moment to review everything one last time, and then hit publish. Congratulations, you now have a professional-looking website up and running!
Fun fact!
This website created using Untitled UI Webflow Library!
But, in a different way; by using Relume which is an awesome tool! We'll dive deep into that in another blog post.
Conclusion
Building a decent Webflow site in 2024 doesn't have to be complicated or expensive. By leveraging the power of Webflow, a well-crafted library like Untitled UI, and following these straightforward steps, you can create a stunning website quickly and efficiently.
Happy designing!